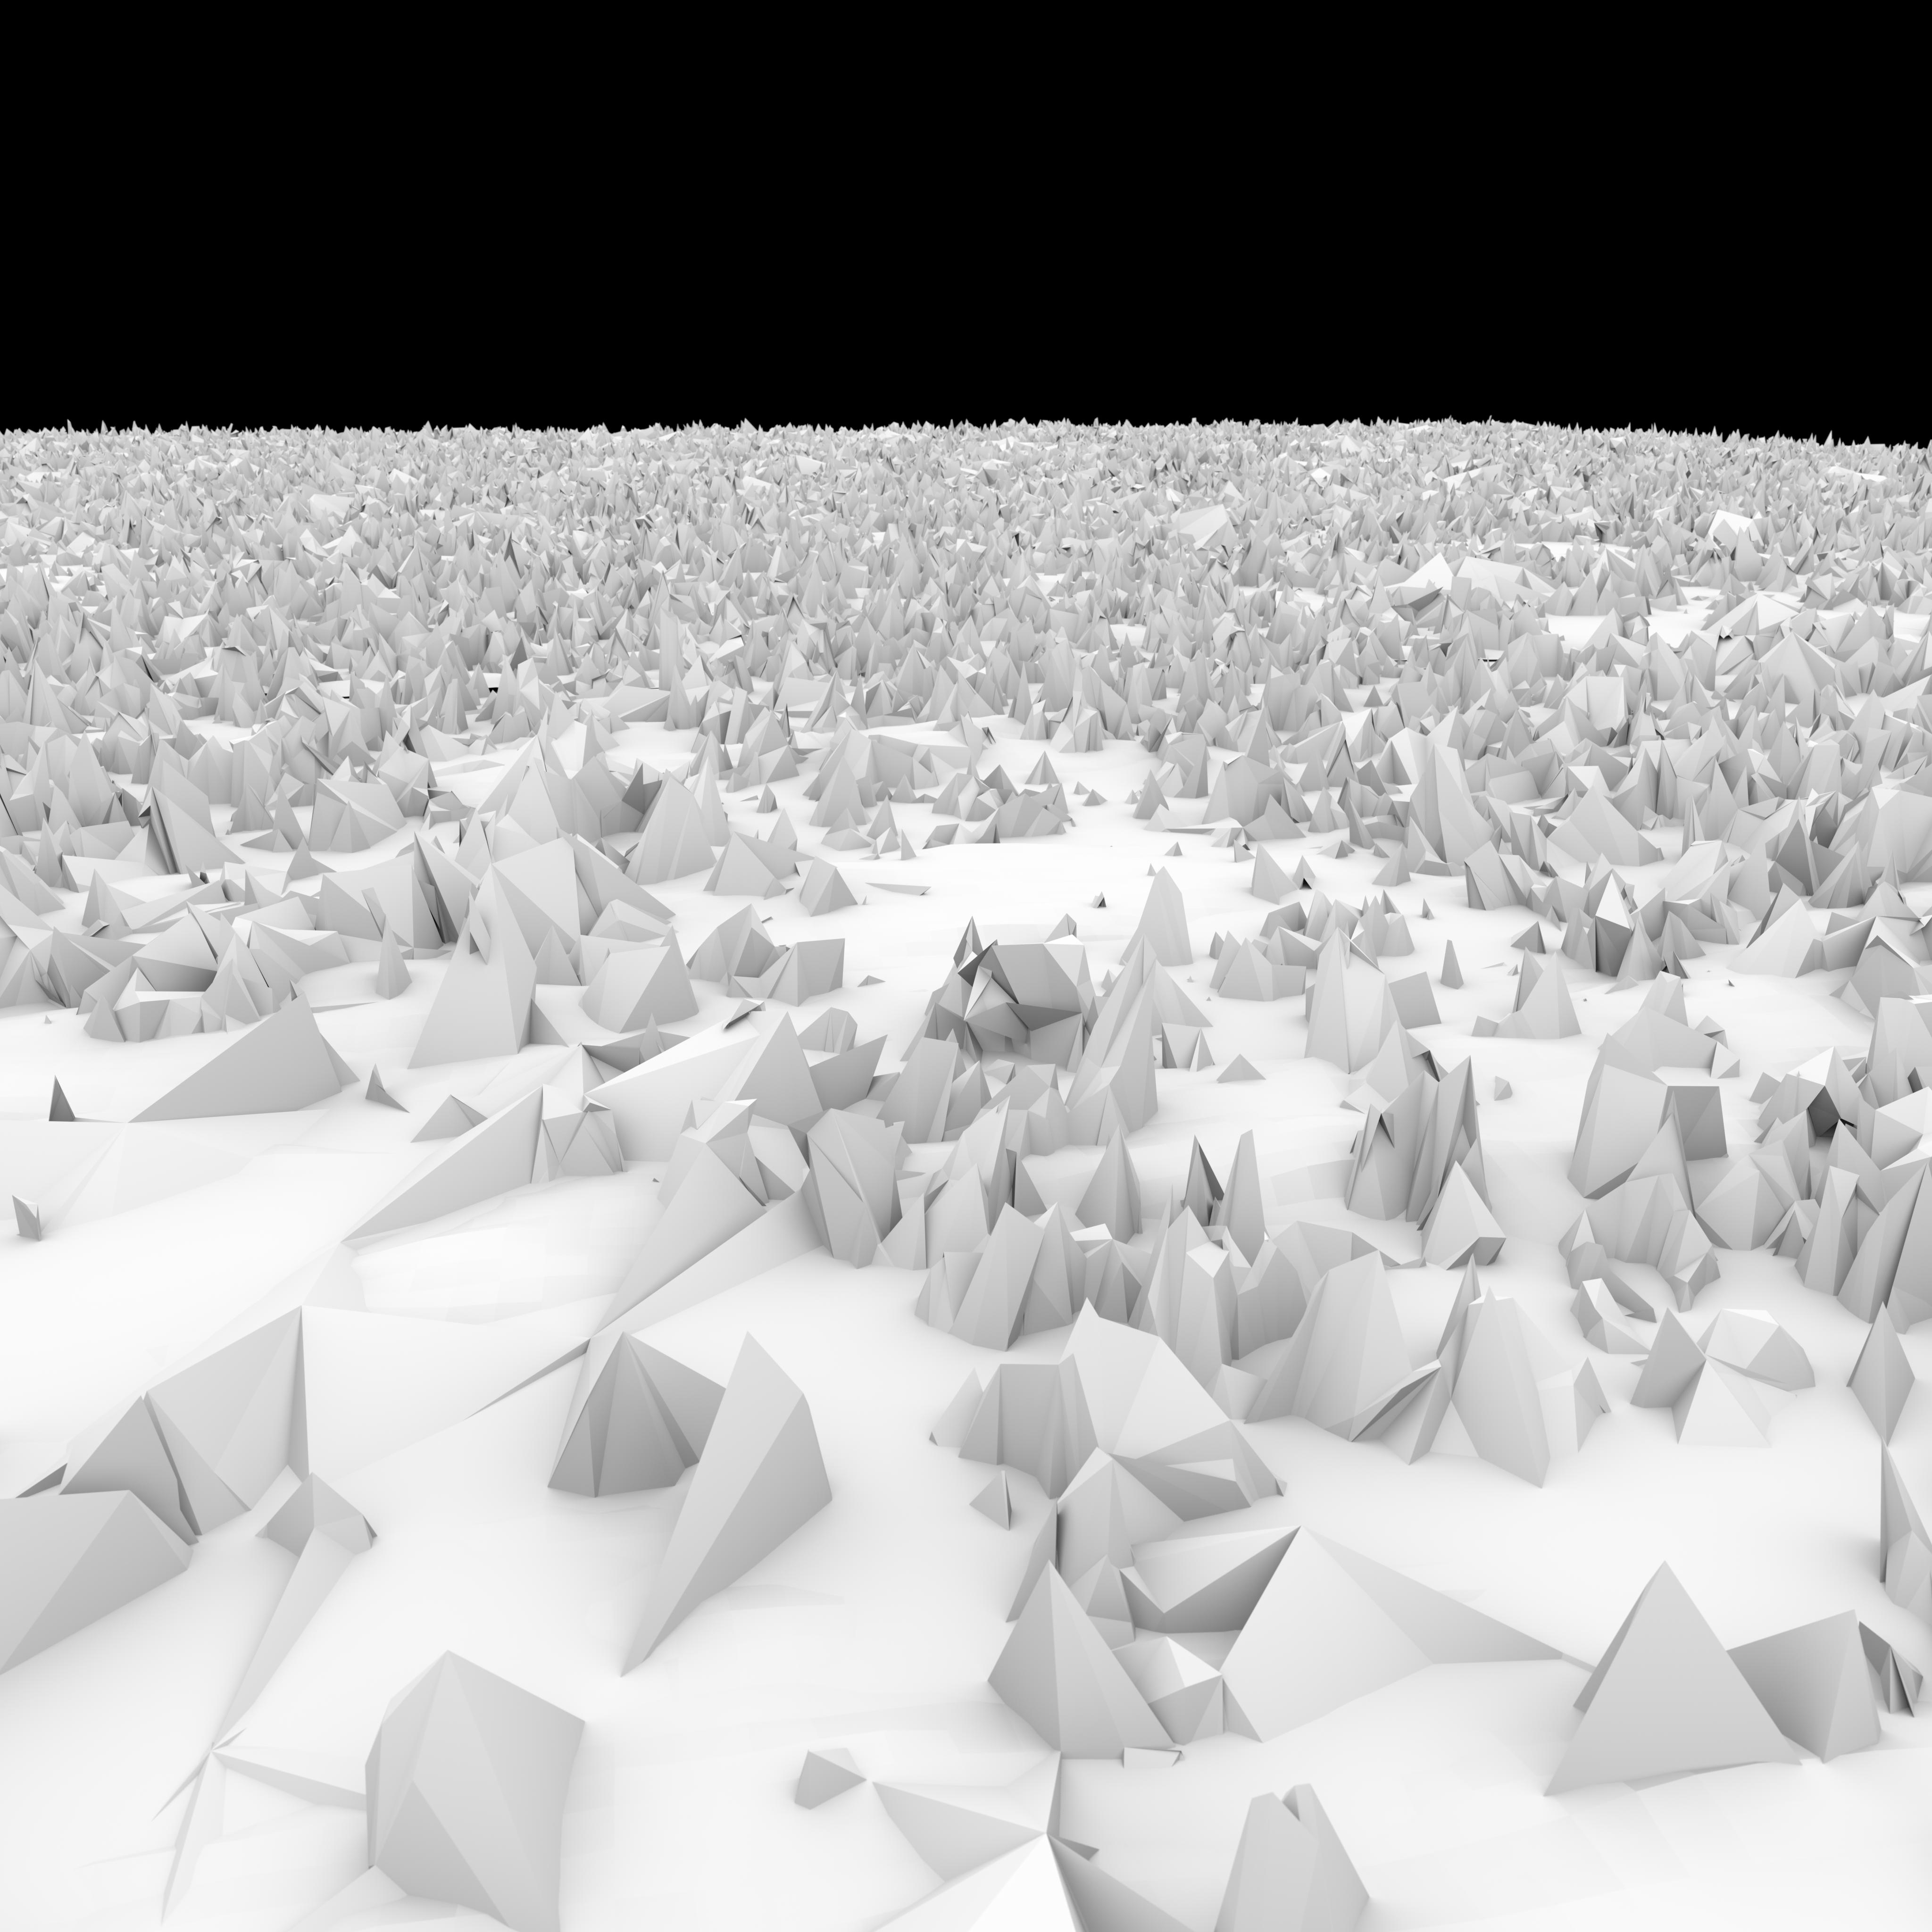
This series of pieces started with a random Facebook post to a group for Octane Render that referenced high end displacement textures over at rd-textures.com.
I was totally intrigued and ever so amazed by the quality of the texture packs there. I only grabbed some of their freebies to play with and see if I could do anything interesting. It didn’t take long to generate geometry from these maps in Maya and Octane and I was pleasantly surprised by how detailed and easy to work with the textures are.
I was stumped as to what to do with them, however. So, I just started playing. That led me over to Houdini, where I added a mountain modifier to some of the maps, so that I could create some more visual interest, which got me to playing with water…and some random color textures that I made in Photoshop…

And things started to get really interesting when I decided to push the geometry in weird ways. I liked it because the UV’s where already setup and working, so with the mountain modifier applied, it seemed to keep the textures in their relative quadrants, despite the mangled geometry. For some reason, at this point, I was calling the project “poppies”.
After a couple of renders, I wasn’t happy with the way things looked; I felt like the project needed something more, still in Houdini, I piped the mangled geometry from the mountain operation to a Scatter and set that up to run a Copy to Points node, which I used to copy a 4 sided platonic solid to. Then, I went ahead and setup a random function on the size and started playing with the seeds. This was still while waiting for a 4K render of the “poppies” series, which came out pretty, well, but I wasn’t happy with the fact that it was just kind of random, even though it was pretty cool to look at up close.
The resulting renders still came out pretty well. Here’s the poppies series. I cluded the AO passes to give some idea of what the underlying geometry looks like, plus everybody loves AO passes:


When I started playing with the new geometry a few days later, had the idea of creating two scatters from the seed geometry, then making one of them into emitters, my favorite, and to make everything overall very jewel tone. I did that with a specularity map from my random color image. Things were coming together.
The whole process reminded me of another project that I worked on, incandescent, so I thought, “why not?” and reused some of the geometry from that project, sculpted and retoloplogized by Shane King, a Full Sail Alum of mine. After I placed the geo, I knew I was on to something.
As a 360 photographer, I thoroughly enjoy working with stereoscopic renders, so I went ahead and started working in Equirectangular Over-Under format. After a few tweaks of the camera, I rendered out the layers to an EXR file, piled the whole thing in to Nuke and started compositing with a fever.
I couldn’t decide on just one treatment, so I ended up settling on three. The results are pretty excellent, I am very proud of the finished work.


A VR view of the work is below. Enjoy!

